Creating a factory
This article will go through all the steps of creating a factory entity in EandoX.
Creating a new factory
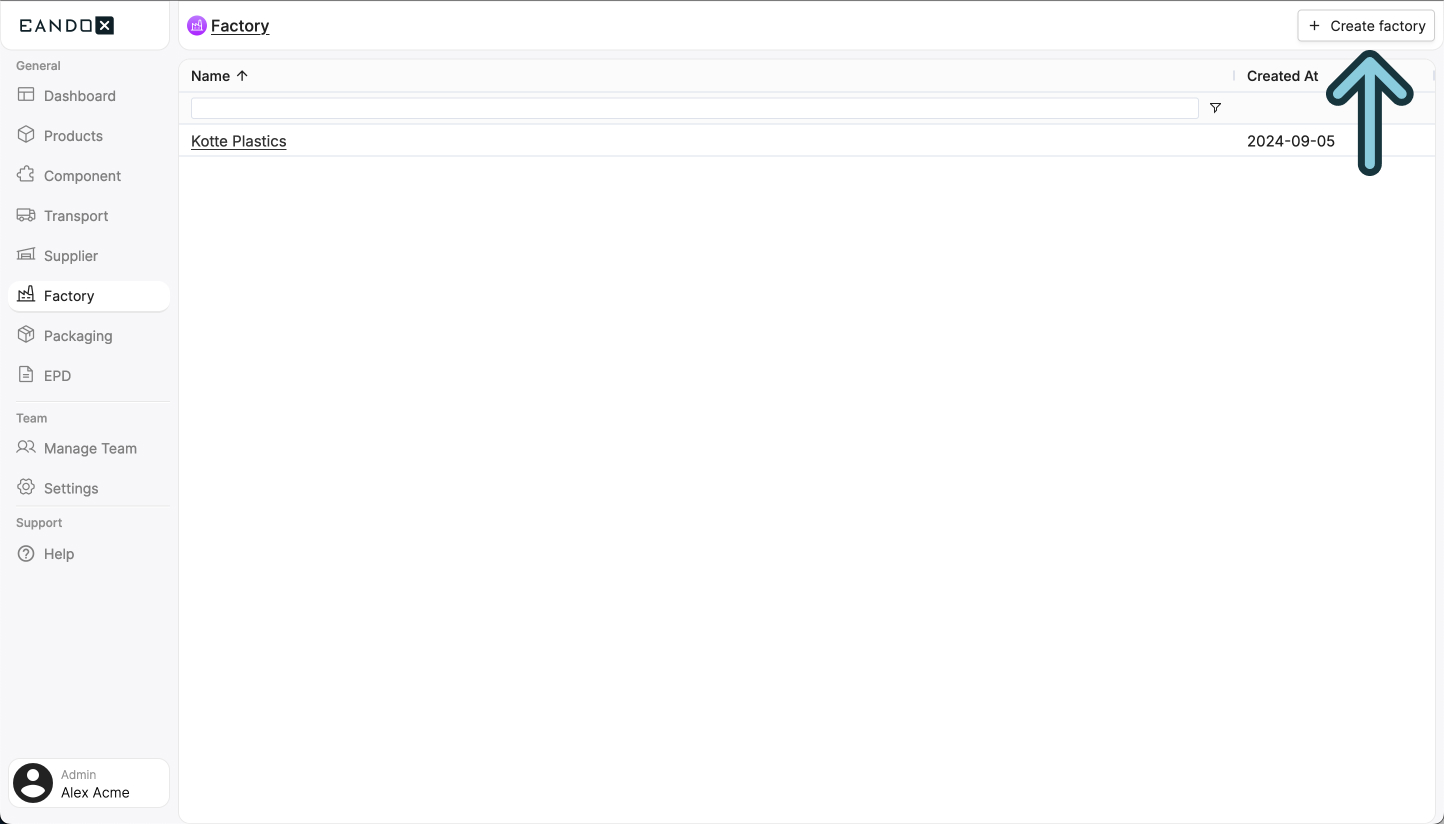
Navigate to the Factory page in the left navigation menu, and click the Create factory button in the top right corner.
This will open a sidepanel where you can fill out the necessary information about your factory. This information can be changed later on, but it is recommended to fill it out correctly the first time.
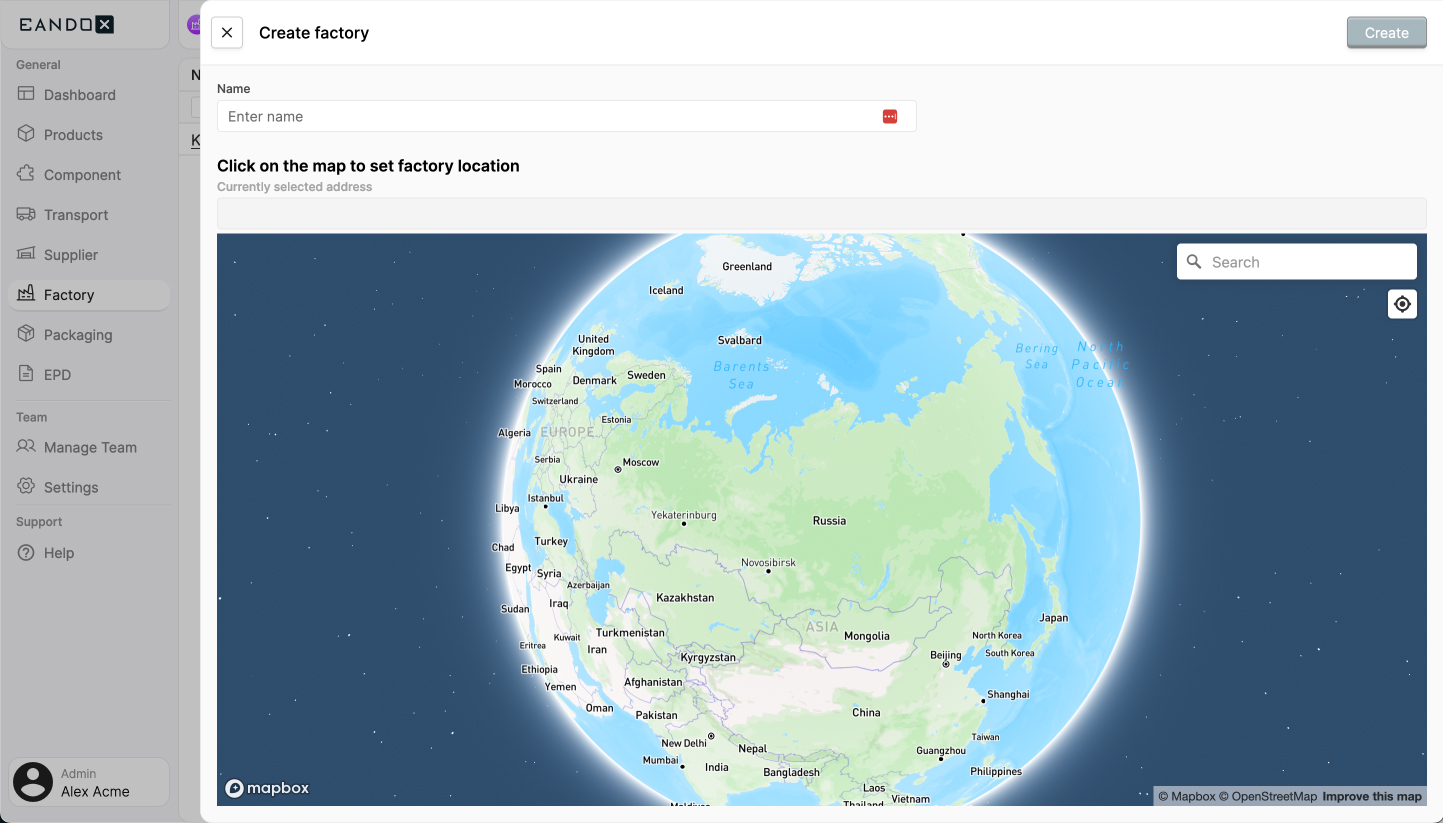
The fields in the sidepanel are as follows:
| Field name | Field description |
|---|---|
| Name | The name of the factory. |
| Factory location | The location of the factory. You can use the search input to search for the address. |
Click Create to create the factory. This will take you to the factory page where you can view and edit the details and data of your factory.
Editing a factory
To edit a factory, navigate to the Factory page in the left navigation menu, and click the factory you want to edit. From there you can follow all the steps below.
Can't edit any of the data?
If you can't edit any of the data on the factory page, it is because the current reporting period has already been published.
Read more about managing reporting periods below.
The factory page
On the factory page, you will see multiple sections:
- Header: Includes the following buttons:
- Reporting periods: Lists all the reporting periods you have created for the factory.
- Data quality: Shows the data quality of the data you have entered.
- About: Includes the following information:
Certification: Wether the factory has any ISO certifications or not.Data collection: How the data for the factory is collected.
- Data: Shows the data for the factory.
- Location: Shows the location of the factory.
Reporting periods
All the factory data is tied to a reporting period. This is the time range for which the data is collected. The reporting periods are shown as cards at the top of the factory page.
States
A reporting period can have two states:
Draft
When you create a new factory, a reporting period is automatically created for you. This reporting period is in draft state, and you can edit the data in this state.
You can recognize a draft reporting period by the Draft badge in the top right corner of the reporting period card.
Published
When you are done entering data for the reporting period, you need to publish it. This will lock the data, and show it in a read-only mode. This is to ensure that the data is stable when used in LCA calculations.
Published reporting periods are locked for editing. To make changes, click the Archive button on the reporting period card. This will archive the current period and create a new draft with the same data.
Multiple reporting periods
A factory can have multiple reporting periods. This is used to track the factory performance over time. To create a new period, make sure that all existing periods are published first. Once published, a Create new period button will appear in the header bar.
Inspecting a reporting period
To inspect the data for a reporting period, click the reporting period card. This will change the page to show the data for the selected period in read-only mode.
The data section
This section is the most important part of the factory page. It is split into four sub-sections:
Production
This field is used to enter the production during the given time range. This is measured in tons.
Time range
The time range shows when your factory data was collected. This reporting period helps organize your environmental data and ensures accurate LCA calculations over time.
The fields in the time range section are as follows:
| Field name | Field description |
|---|---|
| From | The start date of the time range. |
| To | The end date of the time range. |
| Use default data for this period | If this is checked, EandoX will use generic data for the factory. It is however recommended that you enter custom data on your factories to get accurate LCA reports. |
Inputs
This sub-section defines how much material is used as input for the production of your product.

Click the + Add inputs button in the top right of the box. This will open a sidepanel where you can select one (or more) input impacts.
Can't find the button?
The + Add inputs button is only available for unpublished reporting periods. If the button is missing, create a new period by clicking Create new period in the header bar.
The fields in the Input section are as follows:
| Field name | Field description |
|---|---|
| Name | The name of the input. |
| Category | The category of the input. |
| % used | How much of the input is used in the final products. |
| Amount | The amount of input used for production, in the specified Unit |
| Unit | The unit of the input. |
Outputs
This sub-section defines how much waste material is produced during production.
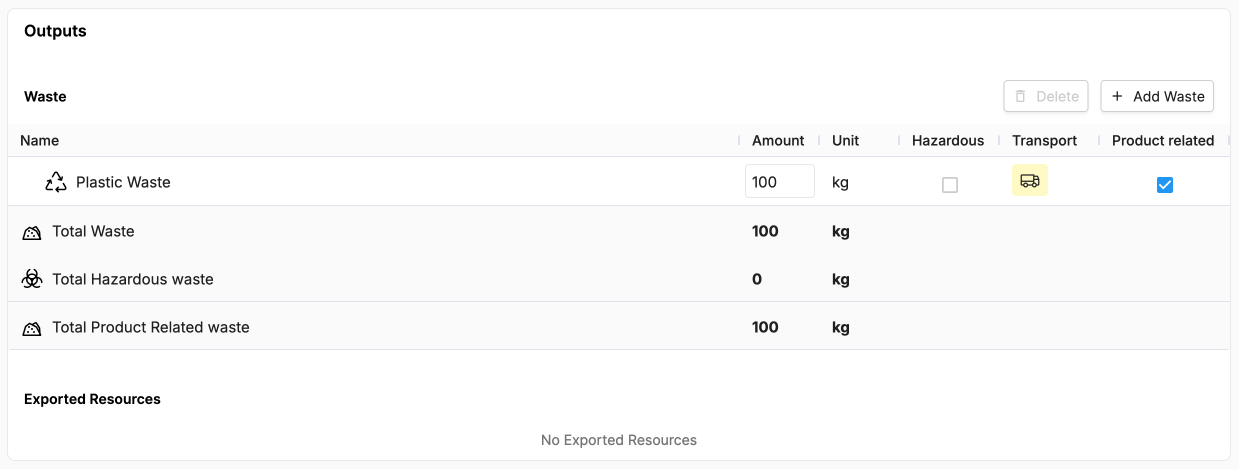
Click the + Add waste in the top right of the box. This will open a sidepanel where you can select an output category, and then add a new output.
Can't find the button?
The + Add waste button is only available for unpublished reporting periods. If the button is missing, create a new period by clicking Create new period in the header bar.
The fields in the Waste section are as follows:
| Field name | Field description |
|---|---|
| Name | The name of the waste. |
| Category | The category of the waste created. |
| Amount | The amount of the waste created, measured in the specified unit. |
| Unit | The unit of the waste created. |
| Hazardous | Indicates whether the waste is hazardous. |
| Transport | How the waste is transported. |
| Product related | Indicates wether the waste is product related. |
Saving and publishing factories
This entity can be both internal and external, and therefore supports both saving and publishing.
Internal and external entities
An internal enitity means that it can only be accessed within your own company and team.
An external entity means that it can be accessed by other companies connected to EandoX. This is most often used when you are a supplier and want your customers to be able to access your components.
Saving
Click the Save button to save the changes you have made. If it is an external entity, the changes will not be published. This is a good way to create internal drafts, and then publish them later.
Don't lose your work
If you leave the page without saving, your changes will be lost. Make sure to save your work often.
Publishing
Clicking on the Publish button will save the changes you have made and then publish them. This will make the changes available to all other companies using this entity in their products.