Creating an EPD
This article will go through all the steps of creating an EPD in EandoX.
Premium feature
The EPD generator is an addon module for plans above the free tier. Please refer to the pricing page for more information.
Creating a new EPD
Navigate to the EPD page in the left navigation menu, and click the Create new EPD button in the top right corner.
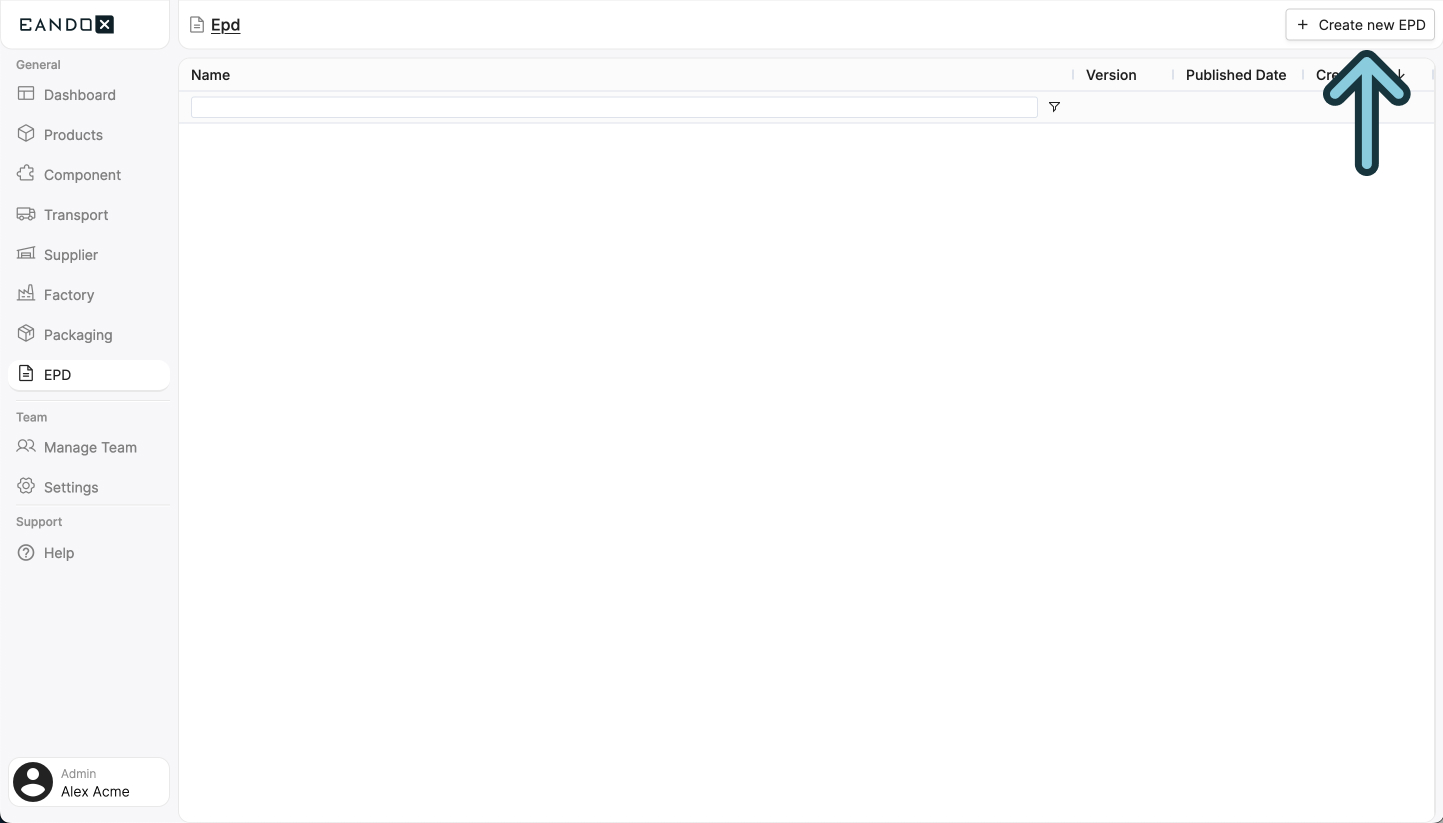
This will open a sidepanel where you can fill out the necessary information about your EPD. This information can be changed later on, but it is recommended to fill it out correctly the first time.
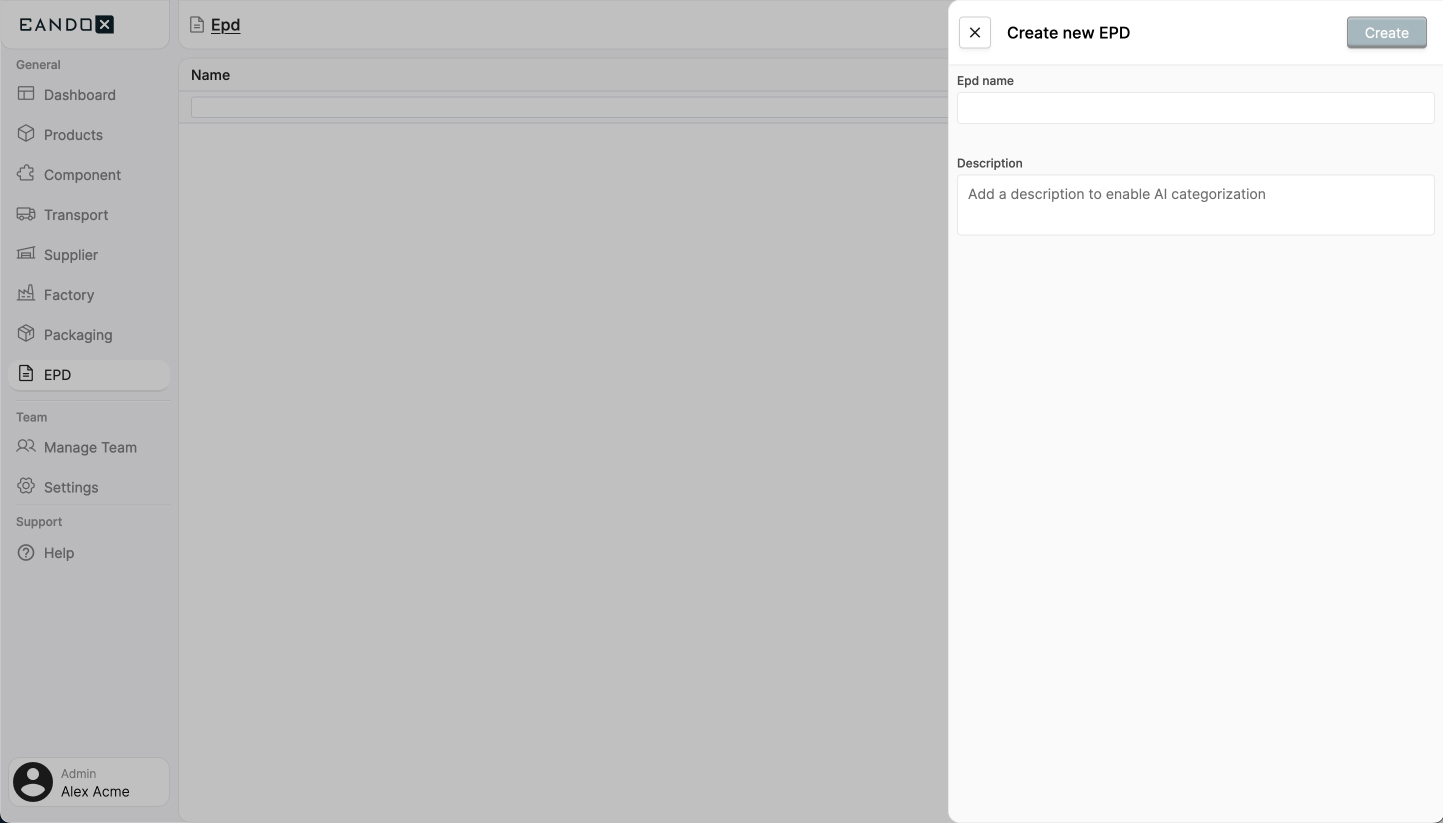
The fields in the sidepanel are as follows:
| Field name | Field description |
|---|---|
| Epd name | The name of the EPD. |
| Description | A description of the EPD. |
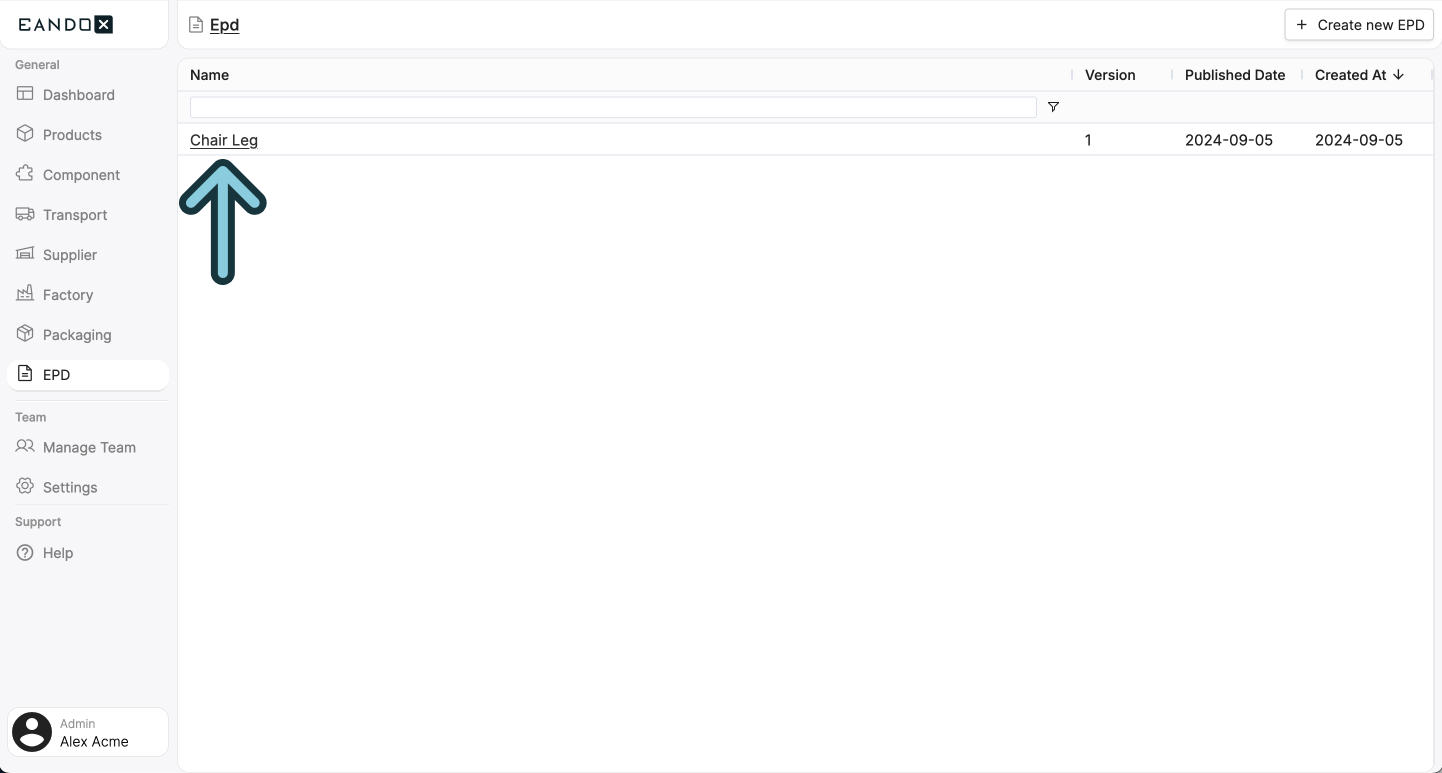
Click Create to create the EPD. This will take you to the EPD page where you can see and edit the details of your EPD, and start adding products and transports to it.
Editing an EPD
If you want to edit an existing EPD, you can navigate to the EPD page in the left navigation menu and click the EPD you want to edit. From there you can follow all the steps below.
The EPD page
On the EPD page, you will see multiple sections:
- Header: Includes the following buttons:
- Published versions: A list of all published versions of the EPD, together with the date they were published and a download link.
- Product matching with AI: Will automatically match the products in the EPD to others in EandoX. This allows you to compare your performance against other similar products.
- Product Selection: Shows the products that are included in the EPD, along with settings on how to handle them in the report. This is also where you chose the PCR standard to follow.
- Impact handling: Shows settings and data regarding and how the environmental impact is reported, and what data to include.
Product Selection section
The Product Selection section is where you can add products to the EPD.
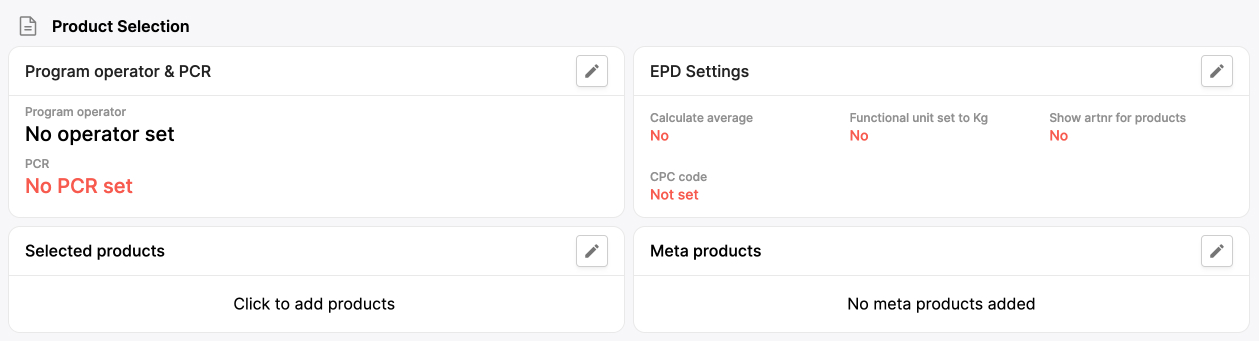
It is split into four areas:
Program operator & PCR
All EPD's are published by a program operator. Every program operator has special rules and regulations that are applied to their reports.
PCR (Product Category Rules) specifies what rules the EPD should follow. The rules follow an international standard, and are based on the category of products in the EPD.
Clicking the edit icon in the areas top right corner will open up a sidepanel with settings, as well as a tab for comments:

The program operator area includes the following settings:
| Field name | Field description |
|---|---|
| Program operator | The program operator. At the moment, only Environdec is supported. |
| Select PCR | The category and standard of the product in the EPD. |
These settings affect the rest of the EPD generation settings.
EPD settings
This area sets global settings for how products are handled in the EPD.
Clicking the edit icon in the areas top right corner will open up a sidepanel with settings, as well as a tab for comments:
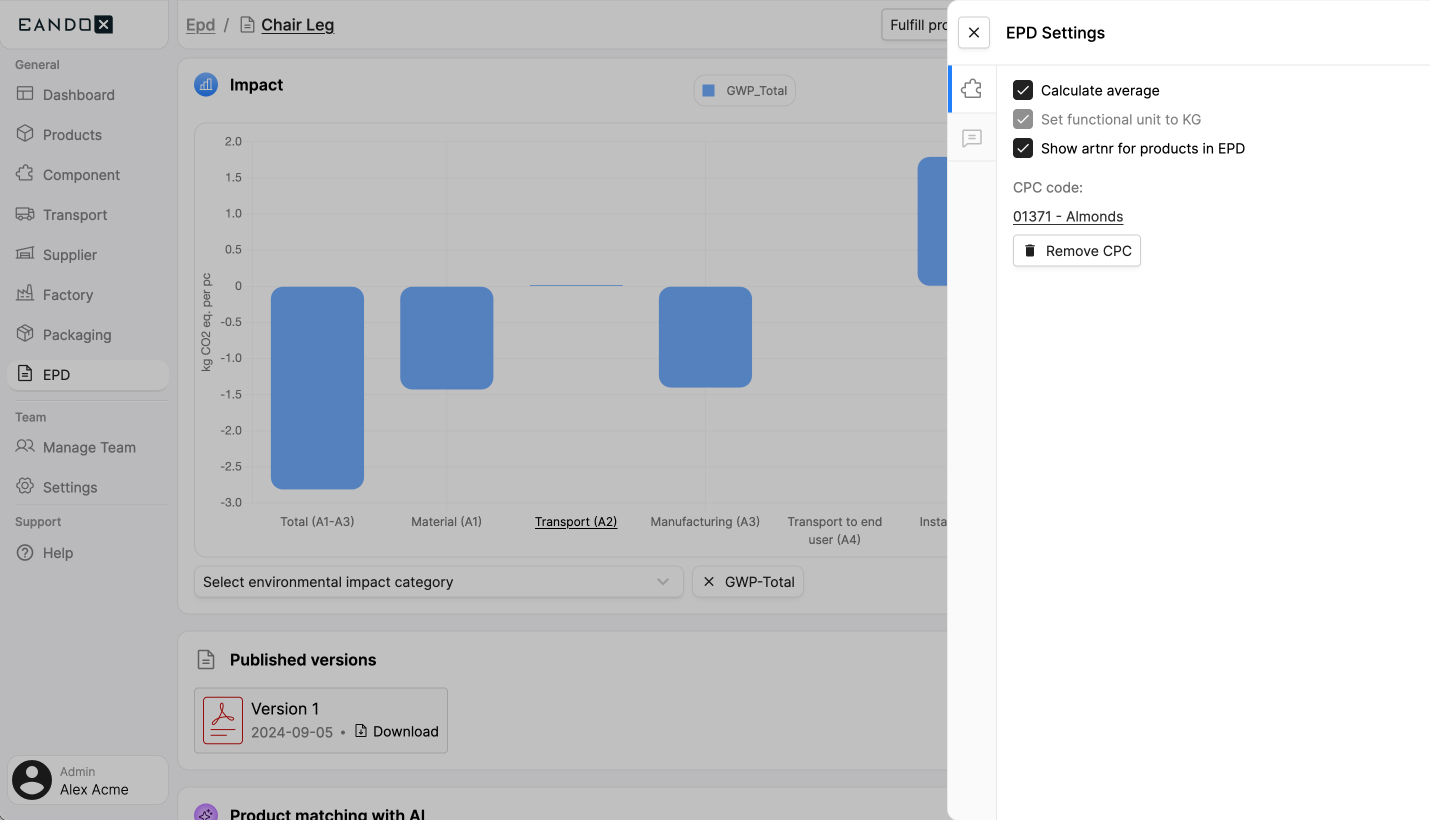
The area includes the following fields:
| Field name | Field description |
|---|---|
| Calculate average | If the report should include a calculation of the average of the selected products. |
| Set functional unit to KG | If the report should specify the unit in which the product is sold in kilograms. |
| Show artnr for products in EPD | If the report should include the artnr of the products. |
| CPC code | The code for the CPC (Common Product Classification) of the products in the EPD. |
Selected products
This is the area where you can add products to the EPD.
You can add the products that should be included in the report by clicking the edit button in the top right corner of the area.
This will open a sidepanel where you can select the products you want to include in the EPD, as well as a tab for comments:
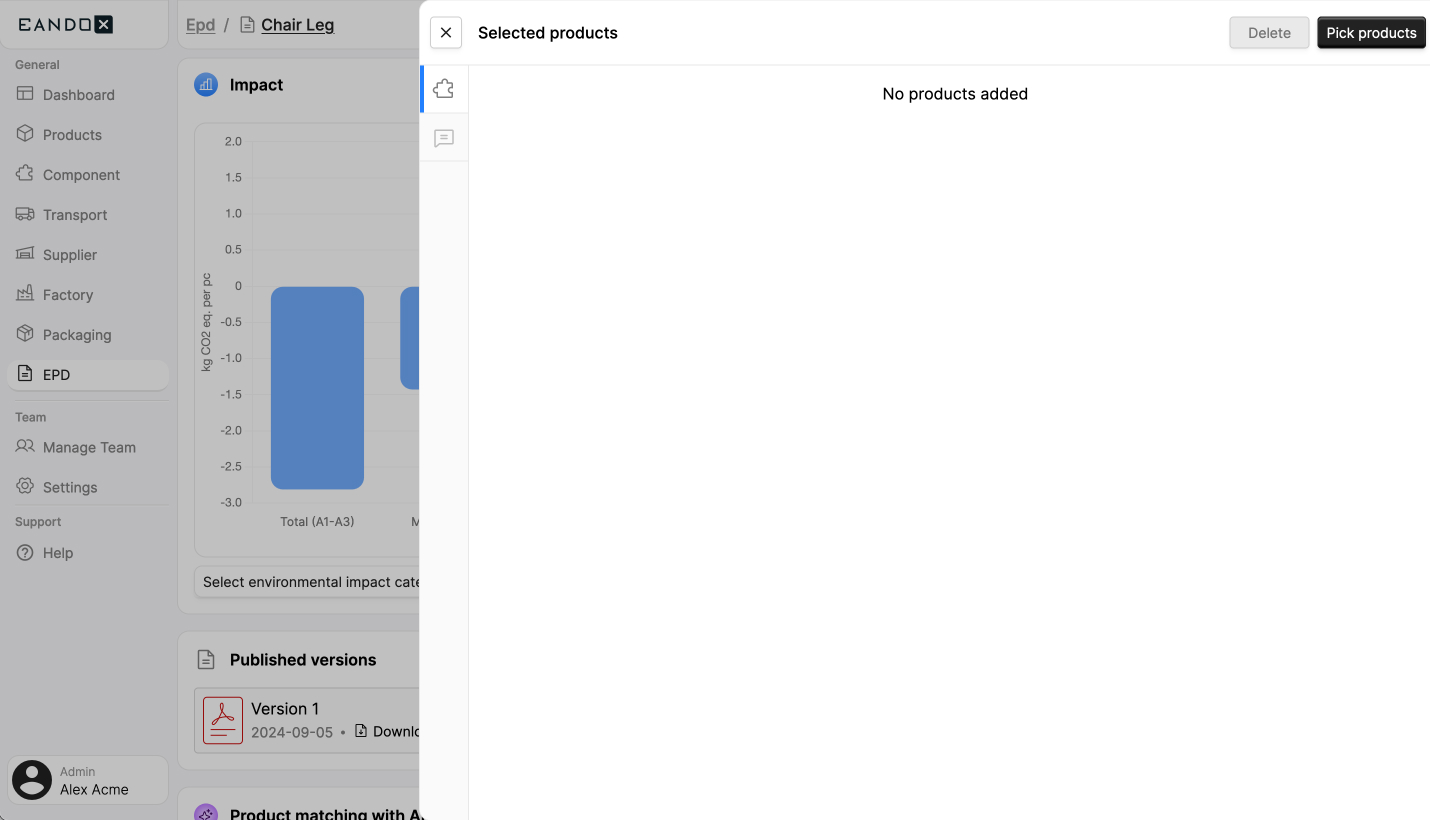
Click the Pick products button in the top right corner. Then, select the ones you want to include in the EPD, and click Select. This will close the sidepanel and add the selected products to the Selected products list.
The list includes the following fields:
| Field name | Field description |
|---|---|
| Name | The name of the product. Clicking it will take you to the product page for the product. |
| Art nr | The article number of the product. |
| Weight | The weight of the product in the specified unit. |
| Unit | The unit of the weight. |
| Is Default | Indicates wether the product is the default one. This is used as a basis for calculations. |
| Deviation % | The impact deviation of the product in percentage. All products need to be within 10% of the default product, or the average. |
Meta products
This area allows you to add products that are not part of EandoX, but still included in the EPD. These products will be included in the generated PDF report, but will not be used in the calculation of the environmental impact, as they can not hold any data.
It is your responsibility to make sure that the meta products have the same properties as the other products in the EPD, and that their impact are within the allowed deviation of 10%.
Clicking the edit button in the top right corner of the area will open up a sidepanel listing all added meta products:
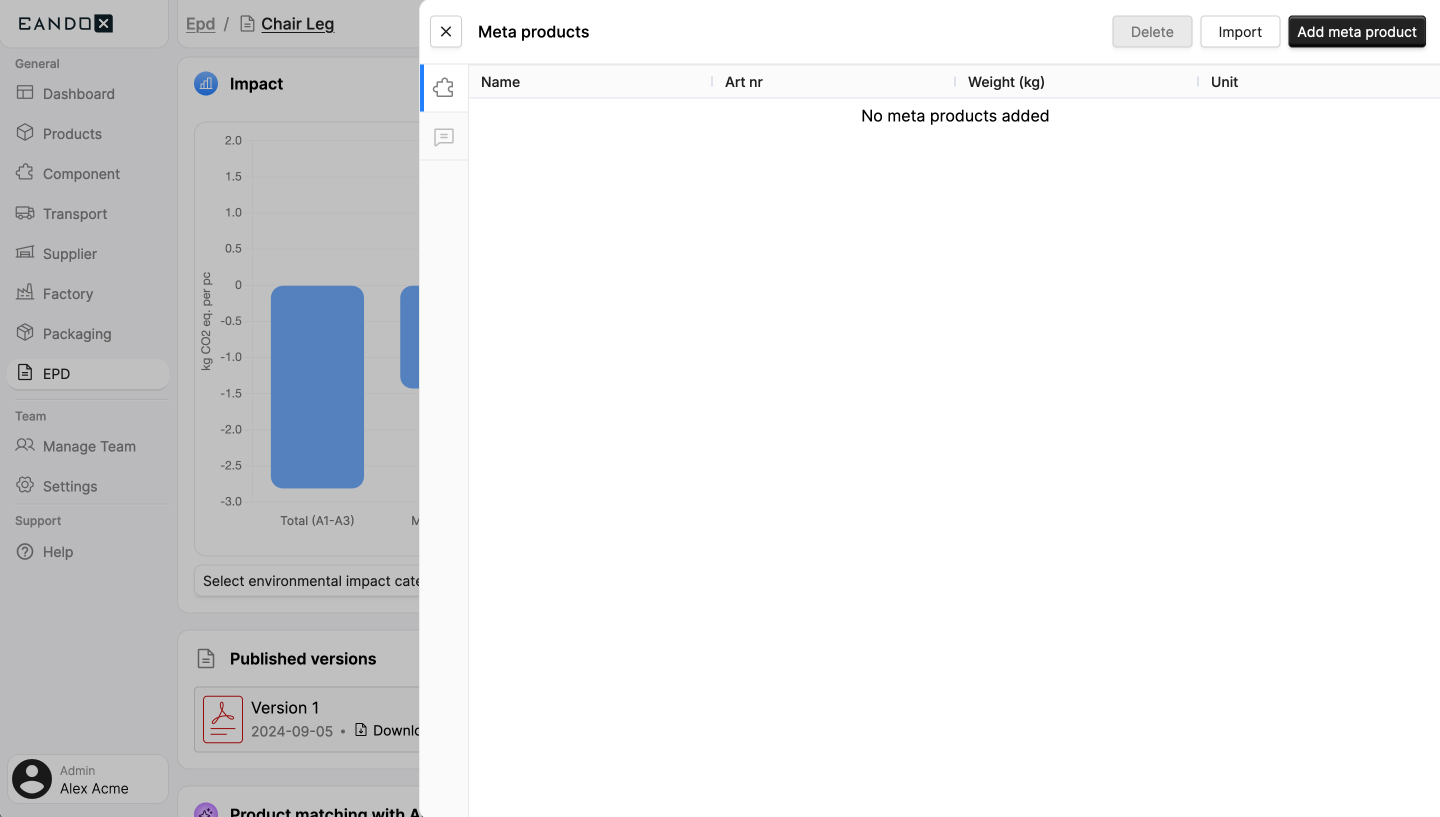
To add new meta products, click the Add meta product button in the top right corner of the sidepanel, and fill out all necessary data. You can also add meta products from an Excel sheet by clicking the Import button.
The list includes the following fields:
| Field name | Field description |
|---|---|
| Name | The name of the meta product. |
| Art nr | The article number of the meta product. |
| Weight (kg) | The weight of the meta product in the specified unit. |
| Unit | The unit of the weight. |
Impact handling section
This section includes settings on how the environmental data should be reported. All the data here directly corresponds to a numbered section in the EPD report.
It is split into four areas:
- A4 - Transportation
- A5 - Installation
- B1-B7 - Use stage
- Set included stages, set country
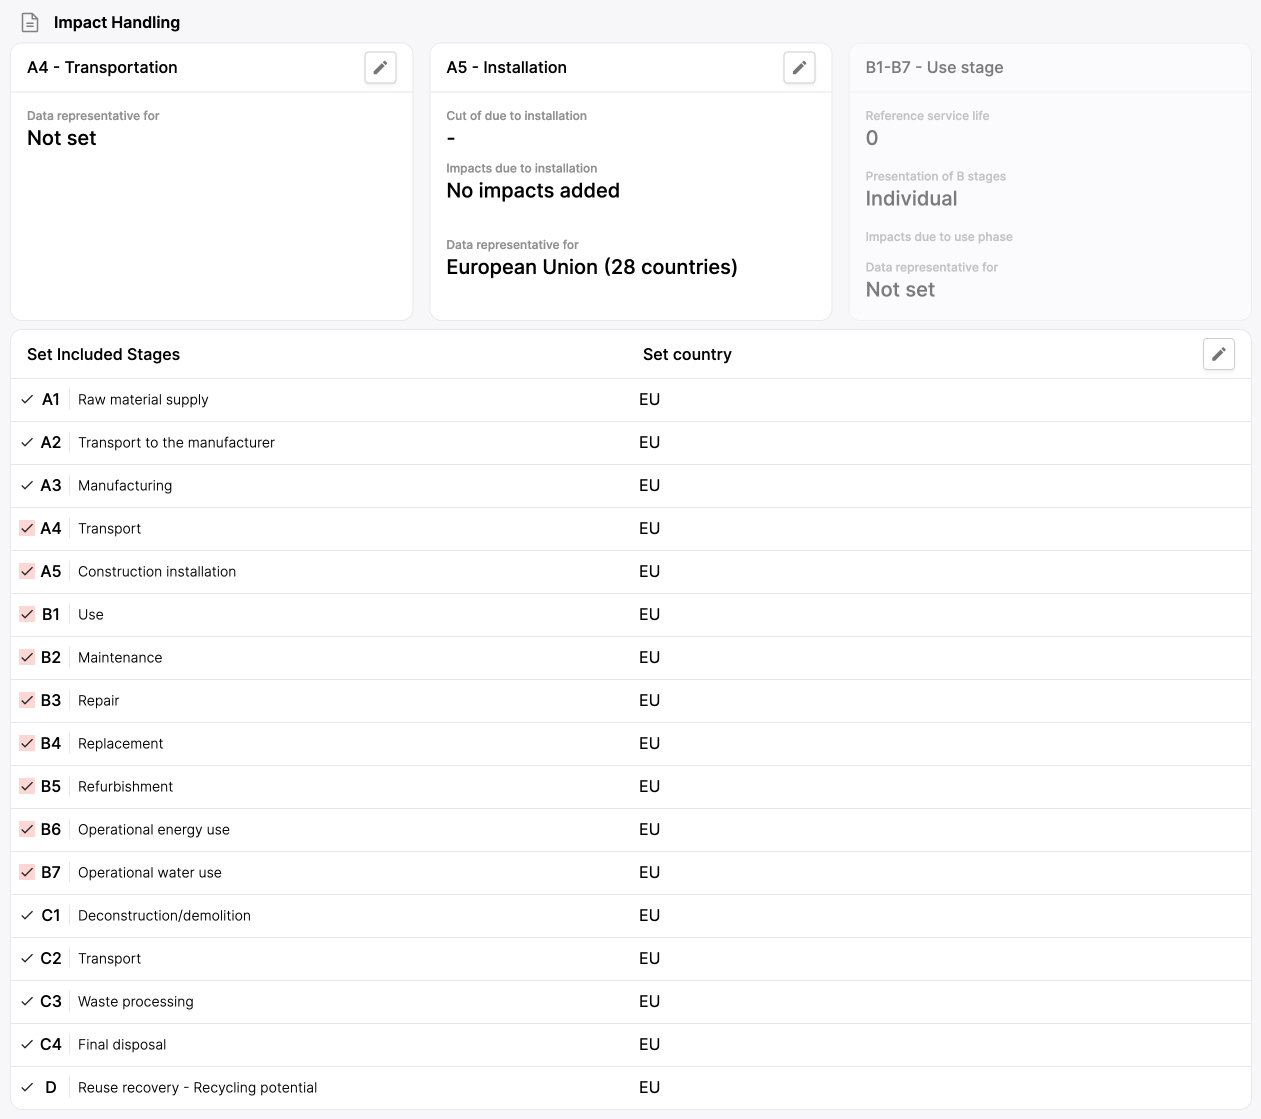
A4 - Transportation
This area contains all data regarding the transportation of the products in the EPD.
You can edit the transports included in the EPD by clicking the edit button in the top right corner of the area. This will open a sidepanel listing all the transports included in the EPD.
To edit a transport in, click the pen icon in the top right corner of the transport (in the sidepanel).
To remove a transport, click the trash can icon in the top right corner of the transport (in the sidepanel).
A5 - Installation
This area contains settings on how to handle and present the environmental impact of the products installation.
B1-B7 - Use stage
This area contains settings on how to handle and present the environmental impact of the products when they are in use.
Set included stages, set country
This area allows you to modify the data included in EPD, and set what country that data applies to. It is based on the PCR set in the Program operator area.
This section will look a little different depending on the data that is needed for the selected PCR. Some of the fields will be required, some will be excluded, and some will be optional.
We have your back
The fields that can't be changed are designed to follow the requirements of the selected PCR standard. This ensures that the generated reports include all necessary data, no matter what optional information you chose to include.
Saving and publishing EPDs
This entity can be both internal and external, and therefore supports both saving and publishing.
Internal and external entities
An internal enitity means that it can only be accessed within your own company and team.
An external entity means that it can be accessed by other companies connected to EandoX. This is most often used when you are a supplier and want your customers to be able to access your components.
Saving
Click the Save button to save the changes you have made. If it is an external entity, the changes will not be published. This is a good way to create internal drafts, and then publish them later.
Don't lose your work
If you leave the page without saving, your changes will be lost. Make sure to save your work often.
Publishing
Clicking on the Publish button will save the changes you have made and then publish them. This will make the changes available to all other companies using this entity in their products.